USB Drive can also be used for booting. The procedure is not simple as it sounds but yes this is possible to be implemented. The simple copy-pasting of the ISO image to the drive will not cut it. The important thing that has to be done is to burn it. That is the reason why there is a need for an application that helps you in this very process. In simple terms, ISO file is nothing but compressed files which consist of numerous data that can easily be read once it has been burned. This burning takes place either on a disc or thumb drive. The task such as burning ISO images to a USB flash drive is not at all similar to copying music, videos, photos etc to your flash drive. The first required and the most important thing is to burn the file that is also using external software. After this only one can read the content inside the ISO File image. In today’s article, we are going to cover two majorly used procedures that help us to burn an ISO file to a USB Drive. So if you have been searching for these methods then you have landed on the correct page. Let’s start with the methods without wasting any more time.
Here are the two procedures that we are going to talk about:
METHOD 1: Burn ISO image to USB Drive using WizISO
WizISO is a widely used application that is popular for its flawless little but powerful tool that helps us to burn images to a USB flash drive or CD/DVD by making only one click. Well, most of you must be thinking about how to let us understand that. It is nothing but a very small program that is quite effective as you can create bootable windows operating systems that too by simply burning the windows ISO image files using this program itself. This program is even considered faster than other programs available in the market. One can even change the drive format to FAT 32, FAT, NTFS etc.
Now let us see what all the things that you require for this:
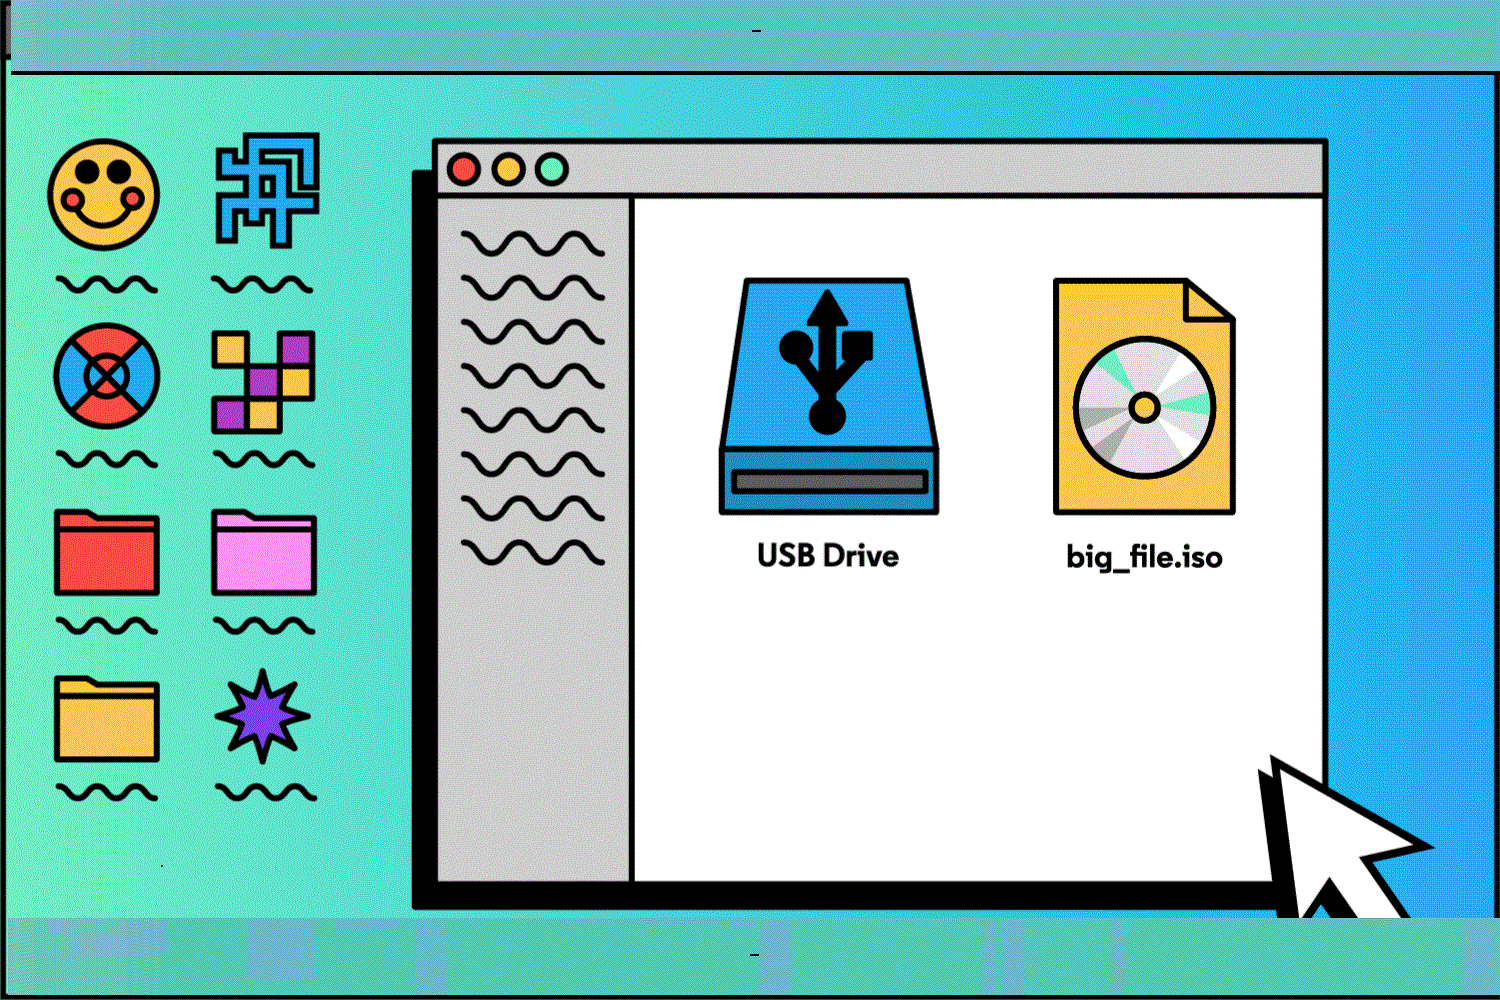
A USB flash drive or a CD/DVD that has a minimum of 4GB Storage
The source of Microsoft ISOs for Windows 10/7/8, 8.1, vista
Most importantly the wiz iso file
For downloading kindly click on the link given below:
Let’s look at the steps involved in downloading and installing the program. Kindly follow the steps written below:
At the first kidly download the program directly from the link mentioned above.
As soon its download open it and run it so that it can get installed in your device
This tool is extremely easy to be used by almost anyone. Simply one has to click on the browser and then import your respective ISO file to the program
Once the correct ISO file is chosen just click on the option of “ Create a bootable disk using insert a CD/DVD or USB flash drive as per your requirements.
Now click on the Burn button to begin the process.
You may also get a warning after doing the previous step that all your data will be destroyed in that situation click ok and proceed further.
After all this, your disk will be ready to be used
METHOD 2: How to Burn ISO Image to USB Drive using RMPrepUSB
At first, you are required to download RMPrepUSB on your device. The USB Drive which is created using RMPrepUSB will be enabled to easily access ISO File into a portable device. Here the files are executable and you will be required to install them after saving them on the device.
Once the download is completed you should locate the RMPrepUSB file on your hard drive and then double click on that. Soon it will run the program straight forward thus there is no installation over here.
Now insert the USB Drive that you are required to burn in the ISO File. the application will automatically detect all this.
Select the desired USB Drive and then drop-down to the labelled option named “Device”. You will be able to see the name of all available devices. It would even show the letter allocated to USB Drive.
Do not try to make any changes to the names of the next three positions, namely “ position scheme”, “ target system type”, “ cluster size and the next is file system”.
The program will soon complete the inspection and then start the process.