In this digital era, everybody wants their online presence, whether a freelancer or a company. Suppose you are among one of them who is fascinated by having your website. The thought of creating your website seems so overwhelming. But another side of our brain tells us that it is impossible for anyone except a developer or a person who knows web design can create a beautiful and responsive website.
There is good news for you. There is software out there that is so easy to use, anyone can successfully create a unique and professional website for their business, blog, or portfolio, and the name of the site is WordPress. This article will guide you step by step about the wordpress website and how to install it.
There are two types of websites one is WordPress.org, and the other is WordPress.com. Before it scares you, let me tell you that this difference is only related to the hosting of your websites.
Hosting owns your website or blog on WordPress.org through a third-party hosting channel. It requires downloading wordPress software and buying a domain name on the third-party site. You need to manage the server, and it gives you exposure to get hands-on experience.
WordPress.com offers to host your website. You do not have to download any software. There is a free version and the paid version. In the free version, your website will look something like this www. your website and the wordpress.com, whereas, in the paid version, you get your website name with no sub domain name. A few more examples to understand this better is.
WordPress org is the best fit if you want full authorization on customizing and taking control of your website. However, with taking the authorization a lot, many responsibilities come with managing a website like purchasing and setting up the domain name, uploading and installing plugins, theme, editing website’s code, and security.
WordPress.com is preferable to an ideal match that has most of the hard work done for you. For example, you do not have to manage your server, pay for your hosting, or buy a domain. In addition, many customization options come with a WordPress.com plan to help you make your website look the way you want it to.
Dotcom has a free and paid version. If you stick with the free version, you will not be able to upload any themes or plugins with a wordpress subdomain. But do not worry; you always have an option to upgrade to the premium version, where you can get the subdomain from third-party hosting websites.
You have a lot of options to create your dream website with wordpress. Usually, people find the software easy to use, but if you are a beginner, you need a basic understanding of the software that can help you build a better website. So, since we have a fair understanding of the wordpress software and the basic differences, let us learn how to install the wordpress software.
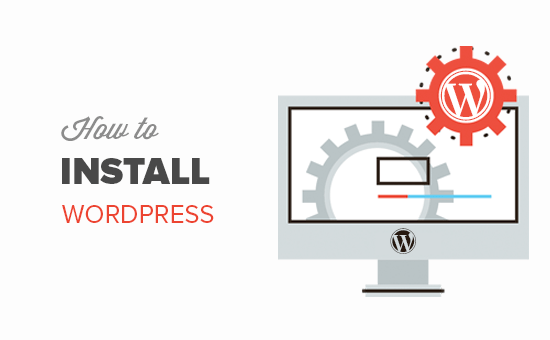
How to Install WordPress?
To install WordPress, look for a web hosting provider that can easily perform the installation. For example, some hosting plans, like WordPress hosting, offer an easy installation using an Auto Installer.
Let us take an example of Hostinger’s auto-installer for the installation process:
Login into your hosting account and click on hosting on the main menu.
Select the domain name for all your future sites and click on the Manage button to access your panel.
On your hosting Panel Dashboard, you can locate the Auto Installer button just under the Website section.
Under Auto Installer, select WordPress and then click on the select button.
Fill out the installation form.
Check your customized domain name and make sure it says wordpress mentioned next to it.
Admin Username, Password, and Email will be used to login into wordpress. It is not necessary; it has to be the same as the hosting information.
Finally, create a wordpress website title and choose your preferred language.
Always select to update the latest available version option for automatic updates in the future.
After checking the details, click on the install button.
Once done, Hostinger will show all the Installed Applications. Select the three dots next to your WordPress URL and select manage to go to My WordPress Dashboard.
On the Dashboard, select the edit website button to access the WordPress Admin page.
There is also an alternative way to access the dashboard by clicking the button under WordPress on the hostinger panel.
Finally, your website is installed, and now you can explore and create beautiful websites of your choice and explore the new digital world. Please note that for any reason, if you are unable to see any changes on the wordpress site after following the steps, then clear your browser cache and cookies and retry the steps.