Burp Suite is quite a powerful tool when it comes to testing different web applications. It is Graphical User Interface (GUI) based tool that includes the proxy server within it which enable the user to modify and intercept the communication between client and the server. This tool contains several other beneficial features when it comes to operate penetration testing of different web applications. PortSwigger web security builds and maintained this tool.
Burp Suite is available in both free and paid versions. The community version can be downloaded free of cost while the professional and enterprise versions of Burp Suite are available as the paid ones after the completion of the free trail.
In this article, we will be discussing about how to install and properly configure the Burp Suite free community version on the Linux platform in the Ubuntu machine. There are two different ways that we can download and install the Burp Suite to our Linux platform.
With the help of
standalone Java executable file (.jar)
With the help of Linux
installer (.sh)
1st Method: How to Install Burp Suite on Linux with the help of Standalone Java Executable File?
Step 1st: In the first step, kindly ensure that you have installed Java on your Linux Machine. In order to verify, you can use the following command in your terminal:
java -version
Step 2nd: If you find Java installed in your linux machine, than move to third step otherwise you can installed the Java by entering the following command:
Step 2nd: Now, execute the installer with the help of following command in the terminal:
sh burpsuite_community_linux_v1_7_36.sh
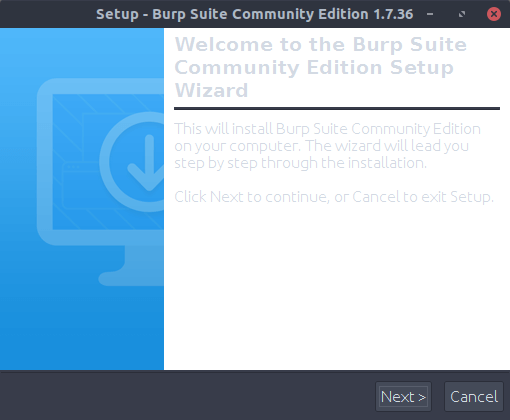
Step 3rd: Here, you will get the Burp Suite Wizard
Step 4th: Properly, complete the burp suite wizard and
you are ready to move on.
Step 5th: Once completing the burp suite wizard, look
out for Burp Suite in the Ubuntu search. Ubuntu search can be appear just by
pressing window key + S from the keyboard.
How to configure Burp suite with your browser?
Step 1st: After installing the Burp Suite, you should
also confirm whether it is properly configured with your browser or not. To
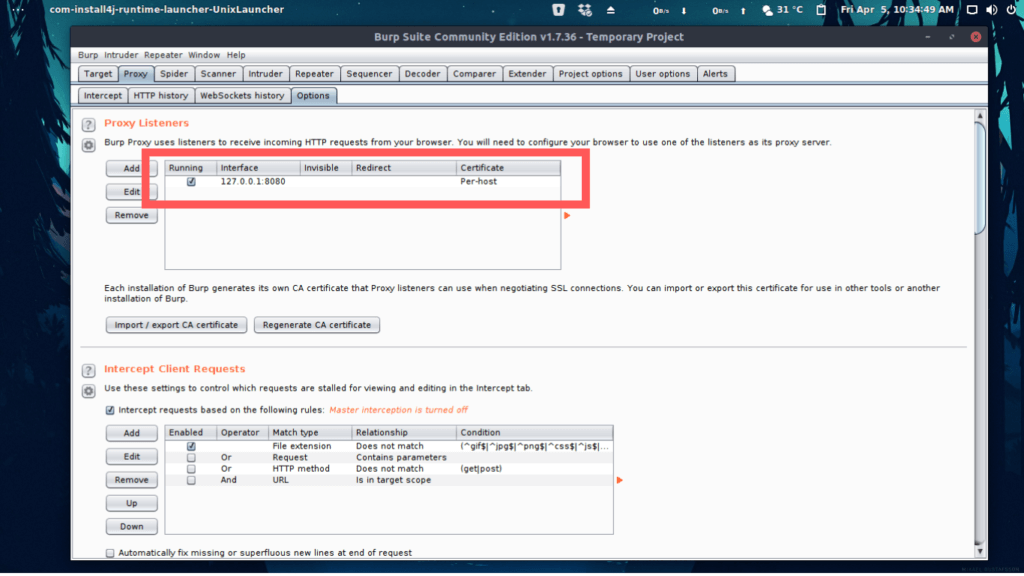
ensure this open the Burp Suite terminal and go to Proxy > Options, here
check out the proxy listeners section.
Step 2nd: If you see a table entry in the proxy listener
as you can see in the image above, the configuration is correct otherwise go to
documentation of Proxy Listeners.Also ensure that checkbox in the column is checked.
Step 3rd: At the 3rd step, you need to
configure your browser to make it compatible with burp proxy. In order to do
this, you have to change the browser’s proxy settings as below:
How to Configure
Firefox with Burp Suite
Step 1st: Open the Firefox browser and got the menu of
firefox and here choose preferences > Options.
Step 2nd: Opt for the General Tab here and scroll down
the mouse at the end of the tab.
Step 3rd: Here at the bottom of it, you will find the
“Network Proxy Settings”.
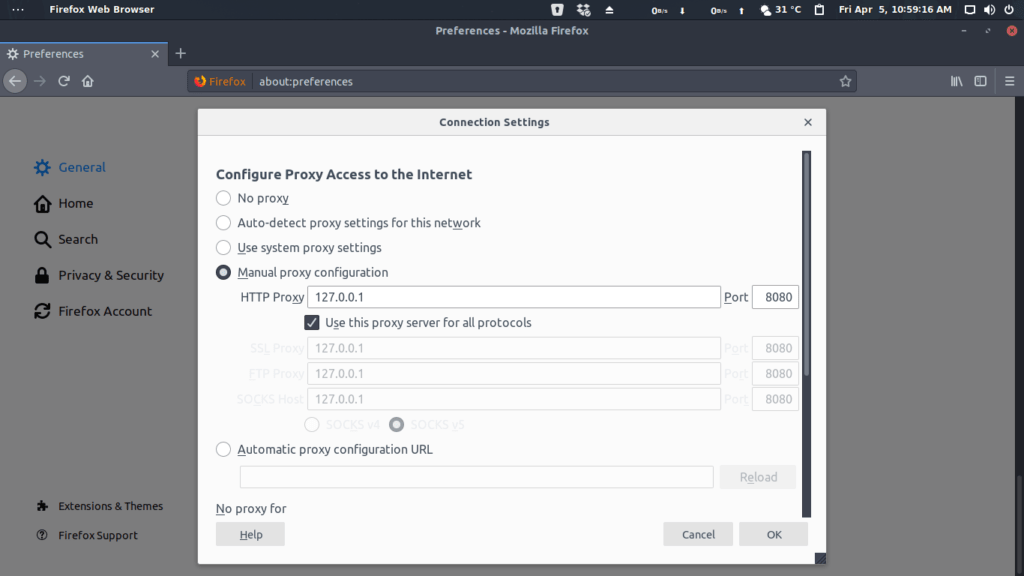
Step 4th: Click on Settings button and choose the
“Manual Proxy Configuration” option here.
Step 5th: Here enter the Burp Proxy listener address.
Also enter the Burp proxy listener port in the “HTTP Proxy” field.
Step 6th: Make it sure that “Use this proxy server for
all protocols” option is checked.
Step 7th: If you find anything in the “No proxy for”
field, than delete it.
Step 8th: Finally, click “OK” button to close all the
dialogue boxes.
So, here is how you can successfully install the burp suite on
Linux machine, and on Ubuntu platform. Hope you find every step of installing
burp suite helpful. If you successfully installed the burp suite, do leave a
comment in the comment box and also if you are facing any difficulty, do let me
know in the comment box and I will help you out.