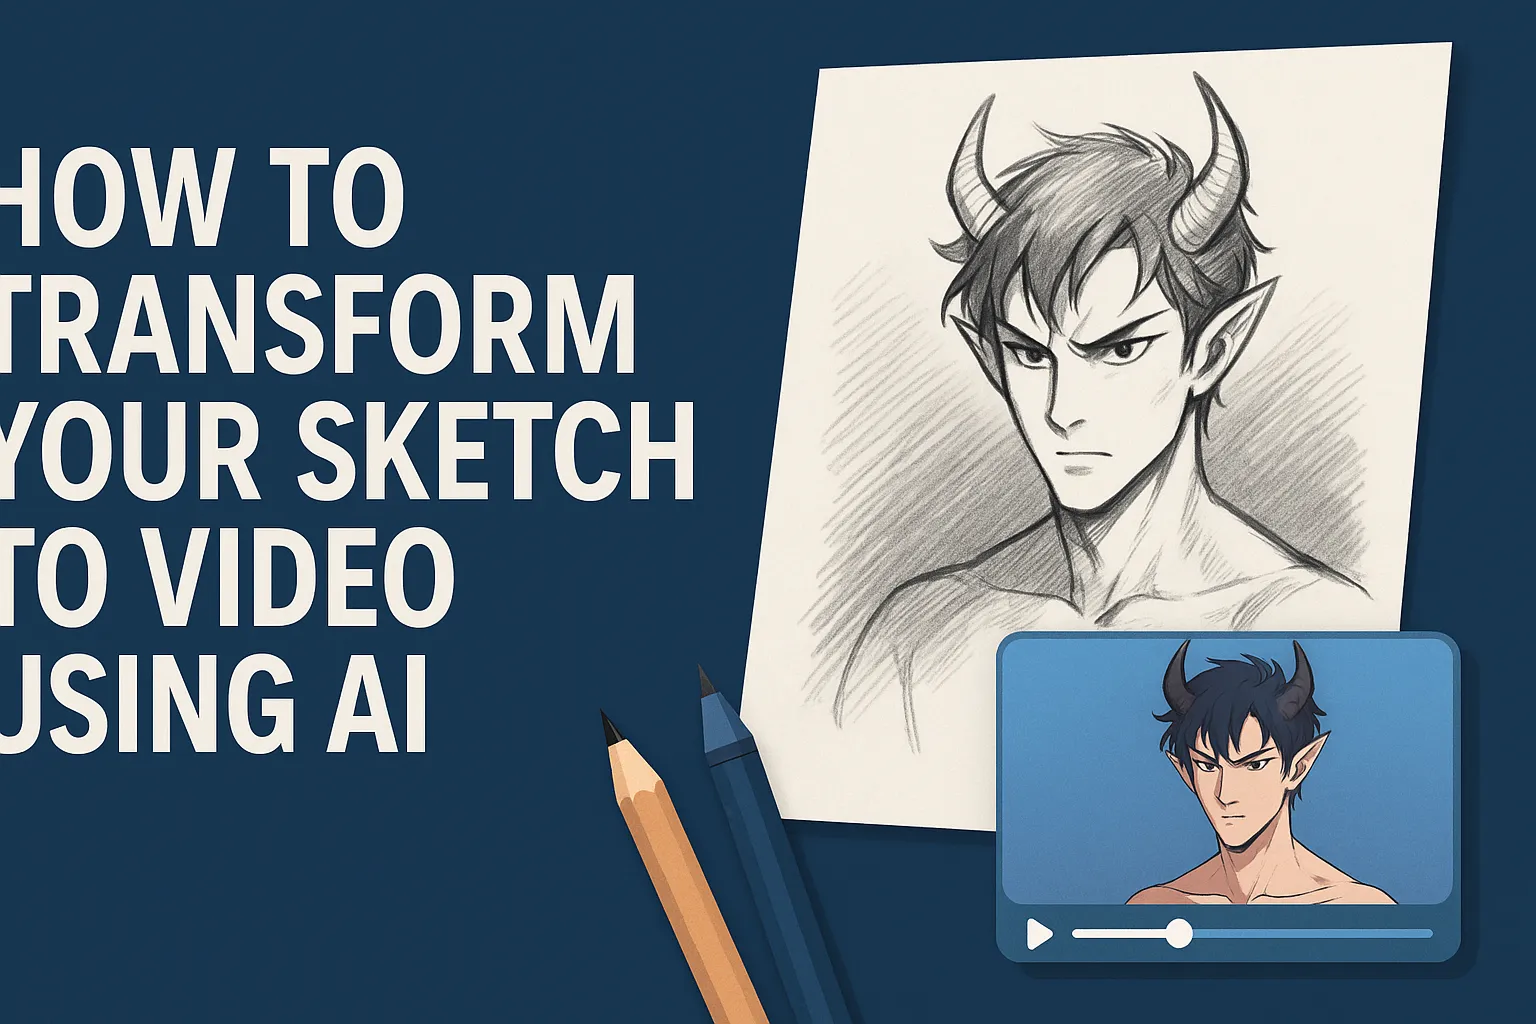
Featured image: A creative illustration showing a sketch of an anime-style devil transforming into a digital video using AI, representing the concept of bringing artwork to life.
Loading...
Introduction
I’ve always loved sketching. There’s something satisfying about putting pencil to paper and creating something from nothing. But recently, I discovered something that took my sketches to a whole new level—turning them into videos using AI. It sounds like magic. But it’s actually pretty straightforward once you know the steps. Let me share with you how I did it, what tools I used, the pitfalls I ran into, and how you can avoid them too.
Why Turn a Sketch into Video?
Before we jump into how, let me tell you why this matters. A sketch is static. It’s one moment frozen in time. But a video? A video brings your sketch to life. You can show movement, emotion, and dimension that a flat image simply can’t capture. I started playing around with this because I was tired of my sketches sitting in folders on my computer. I wanted to see my devil sketch come to life—and that’s exactly what happened when I tried this out.
3. Tool Spotlight: Higgsfield AI
The tool I use for this is called Higgsfield AI. It’s a platform that specialises in generating video from images, including sketches. You’ll need to sign up, and depending on what you want to do, you might need a subscription. But it’s worth it if you’re serious about creating video content from your artwork. On their website under “Draw to Video” or “Sketch to Video” they mention: “Your sketch turns into a cinema in a second.” They even have a user-guide that steps through the process. In short: you upload a sketch, choose style and motion settings, and the AI generates a short video from it.
How I Transform My Sketches
Here’s the step-by-step process I follow. You’ll find it easy once you’ve done it a couple of times.
Step 1: Find the Sketch-to-Video Feature
Once you’re logged into Higgsfield AI, look for the video menu—there’s often a dropdown or tab labelled “Create → Video”. In that menu you’ll find “Sketch to Video” or “Draw to Video”. Click that, and you’re ready to go.
Step 2: Upload Your Sketch
Next, you’ll see an “Upload Media” button. Click it and select the sketch you want to transform. I uploaded a simple sketch of a devil—nothing fancy, just a basic drawing. The tool doesn’t care if your sketch is highly detailed or minimal. It works with whatever you give it. That said: the file should be clear enough for the AI to understand what you’ve drawn. Dark lines on a light background work best.
Step 3: Choose Your Style
This is the fun part. Once your sketch uploads, you’ll see several options to customise how your video looks. This is where you get to be creative. You can choose what style the video takes: anime, realistic, cinematic, horror, commercial, etc. Each style completely changes the vibe of your video. For example, I tried the anime style with my devil sketch, and the output was surprisingly good. The character came alive with that artistic flair, and it felt true to the anime aesthetic.
Step 4: Adjust Technical Settings
Beyond style, there are other technical settings to play with. You can change aspect ratio (16:9 for standard widescreen, 9:16 for vertical video if you’re thinking Reels or TikTok). You also choose the video model (for example “Sora 2 Pro”) if your subscription allows it. These choices matter. Bigger motion, longer duration, and higher resolution will all affect the final outcome and generation time.
Step 5: Generate Your Video
Once you’ve made all your choices, it’s time to hit Generate. Wait. This is the hardest part, honestly. It usually takes a few minutes for the AI to process your sketch and create the video. During this time the AI is doing a lot of work. It’s taking your 2D sketch and figuring out how to make it move in a way that matches the style you selected. It’s adding depth, motion, and life to your drawing. When it’s done—you’ll have a short video. Review it. If you like it—you’re done. If not—go back and tweak your settings or sketch and try again.
What to Expect & My Results
When my video was ready, I was honestly surprised by what I got. The results are usually impressive if you set things up right. The AI fills in details I didn’t draw, adds motion that makes sense, and creates something that actually looks like a real video. With my devil sketch, I was amazed at how the AI interpreted my simple lines. The character had personality, movement felt natural, and the anime style was applied consistently throughout. That said: don’t expect Hollywood-level motion graphics on your first try. The video will likely be short (few seconds), and you might notice artefacts or odd motion. But for many artists this is more than enough to bring sketches to life.
Tips for Better Results
Here are a few things I’ve learned by doing this repeatedly:
Start with a clear, well-lit sketch. The better your lines, the better the AI can interpret them.
Choose a style that fits your sketch. If you draw very stylised characters, then anime or cartoon-style works. If you sketch realistic figures, pick a realistic motion style.
Crop to target aspect ratio ahead of upload if you know you’ll need vertical or square video for social media.
Experiment with motion settings. Sometimes “subtle camera zoom” works better than dramatic movement when dealing with simple drawings.
Be patient. Each generation may take time and you might have to try a few times to get what you like.
Consider composition. The AI will interpret the sketch and produce motion—so if your sketch has odd compositions (subject too small, or lines too faint) motion might look weird.
Use it for storytelling. Turning a sketch into video adds value—viewers will feel the character move, feel the scene breathe. That’s powerful for sharing your artwork.
FAQs
Q1: Do I need a sketch to start?
A1: Yes—this method assumes you have a sketch (hand-drawn or digital) that you upload. The tool uses that as the base image. You could generate an image from scratch first, using another AI, then upload it.
Q2: Can I do this for free?
A2: Many platforms, including Higgsfield AI, offer free trial generations. But full access (longer videos, commercial rights, higher resolution) may require a subscription.
Q3: How long will the video be?
A3: Often just a few seconds (3-5 seconds) unless you upgrade and choose longer durations. The tool is designed for short motion clips rather than full-length animations.
Q4: Can I choose the style and motion?
A4: Yes—you pick style (anime, realistic, cinematic), and motion (camera movement, zoom, subject movement) before generating. More advanced models let you refine this further.
Q5: Will my sketch look exactly like the original in motion?
A5: Not always. The AI may add interpretation—motion, depth, background tweaks. That’s part of the charm—but if you need absolute fidelity you may need extra manual editing afterward.
Ovais Mirza, a seasoned professional blogger, delves into an intriguing blend of subjects with finesse. With a passion for gaming, he navigates virtual realms, unraveling intricacies and sharing insights. His exploration extends to the realm of hacking, where he navigates the fine line between ethical and malicious hacking, offering readers a nuanced perspective. Ovais also demystifies the realm of AI, unraveling its potential and societal impacts. Surprisingly diverse, he sheds light on car donation, intertwining technology and philanthropy. Through his articulate prose, Ovais Mirza captivates audiences, fostering an intellectual journey through gaming, hacking, AI, and charitable endeavors.
Disclaimer: The articles has been written for educational purpose only. We don’t encourage hacking or cracking. In fact we are here discussing the ways that hackers are using to hack our digital assets. If we know, what methods they are using to hack, we are in very well position to secure us. It is therefore at the end of the article we also mention the prevention measures to secure us.