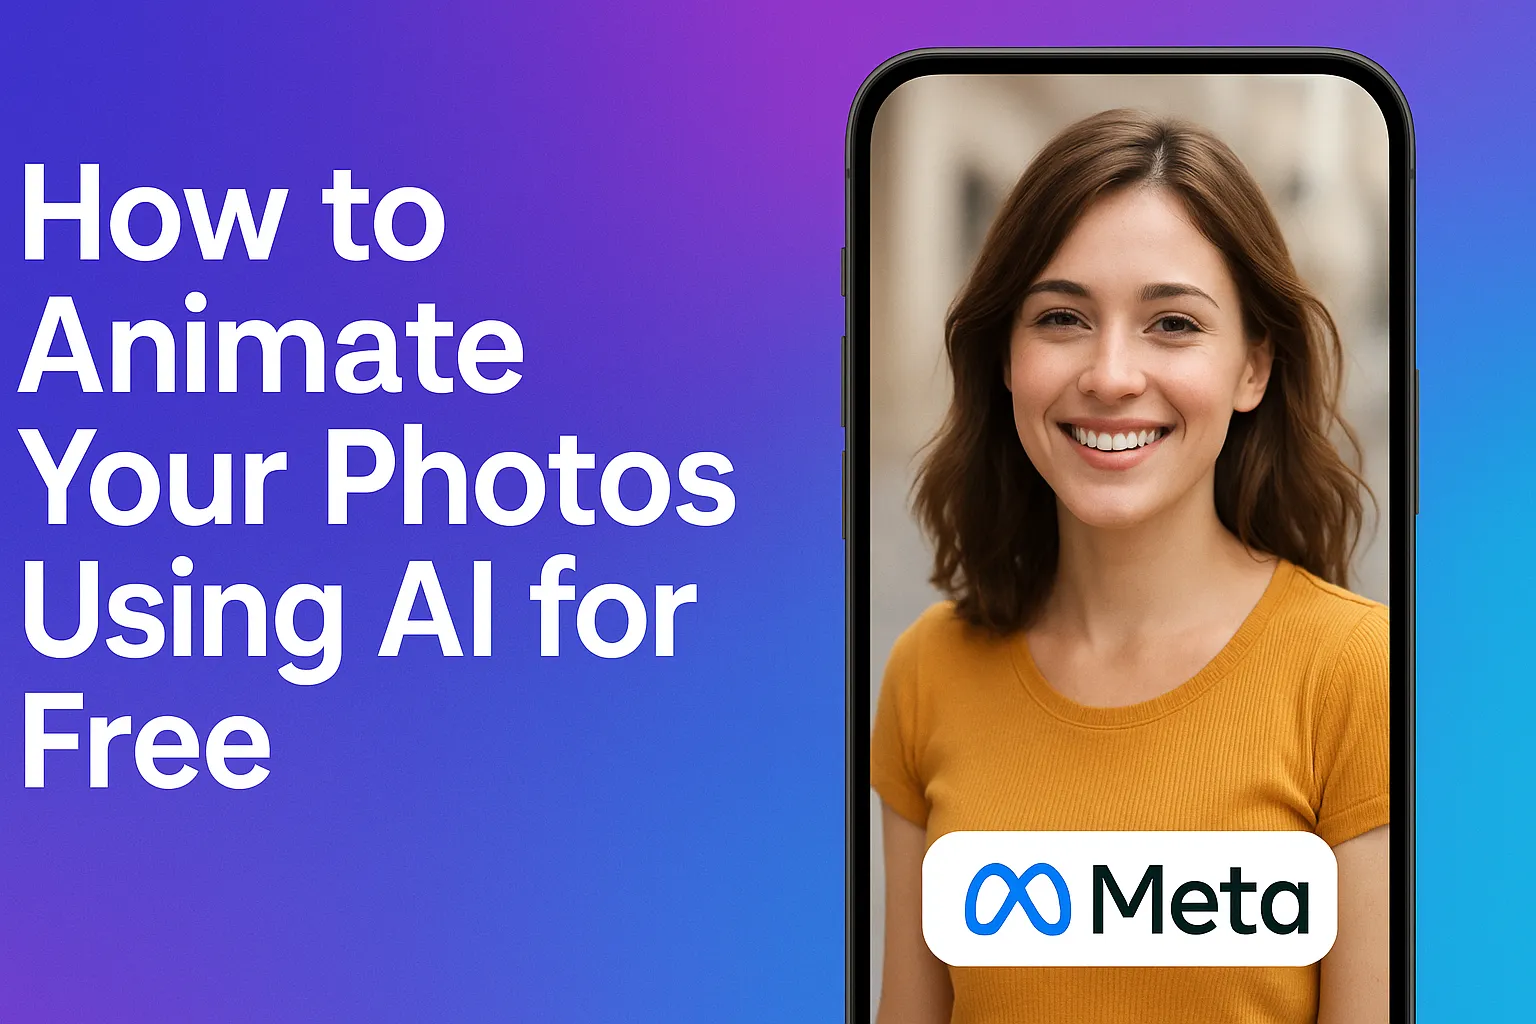
Featured image: A visual representation of Meta AI’s free photo animation tool, turning static portraits into dynamic videos with simple prompts.
Loading...
Introduction
I started playing with AI tools about a year ago, and one thing that caught my attention was photo animation. The idea of turning a static image into a moving video seemed like magic. But here’s the thing: most tools that do this charge you money, sometimes a lot of it. Then I found out about Meta AI, and it changed the game for me. It’s free, it’s easy, and the results are surprisingly good. Let me walk you through how I do it.
Why Photo Animation Matters
Before I get into the how, let me explain why this is actually useful. A photo is a moment frozen in time. An animated video brings that moment back to life. It’s perfect for social media, personal projects, or just having fun with your memories. I’ve found that even a subtle movement—a tilt of the head, a glance, a breeze in the hair—makes a photo feel far more engaging.
According to MakeUseOf, Meta AI lets you upload a still image and watch it morph into a brief video clip in seconds. So if you’ve ever thought “how can I make this picture pop?”, photo animation is a smart move.
Getting Started with Meta AI
Here’s how to begin:
Download the Meta AI app on your phone. Just search for “Meta AI” in your phone’s app store, whether you’re on Android or iPhone.
Install it and log in with your Meta account.
Once you’re inside the app, look for the Meta icon (usually the centre tab) and click on it.
Upload your photo. I grabbed a photo of a woman (AI created) to test it out. You can use any image—selfie, candid shot, picture of someone doing something interesting. It doesn’t matter.
Write your prompt. This is where the main thing happens. You’re going to tell Meta AI what you want the video to look like. It’s as simple as typing in what you want.
For example, type something like: “Turn this photo into video.” That’s it. Hit enter and wait a few seconds. Meta AI will generate a 4-5 second video of your photo coming to life. If you want something more specific, you can ask for it in your prompt. Meta AI listens to your instructions pretty well.
For example: “Turn this photo into video. Smiling facing the camera and tilting head to a side.” Or when I tested with a photo of someone eating pizza, my prompt was: “Turn this photo into video. The man is eating pizza.” The video showed the person eating—even though the video was not perfect. The key is being clear about what movements or expressions you want to see.
Step-by-Step: How I Animate My Photos
Here’s how I do it, step by step:
Step 1: Upload your photo
Select a clear, well-lit photo. The better the image quality, the better the animated video will look. Blurry or dark photos don’t animate as well.
Step 2: Write a clear prompt
Don’t just say “animate this.” Instead be specific: mention “smiling”, “tilting head”, “turning around”, “looking up”, “hair flowing in breeze”, etc. The clearer your verbs and description, the more the model “gets” your vision.
Step 3: Wait for generation
Hit enter. Meta AI will analyse the image, identify subject and background, apply motion effects and return a short animation clip. Usually about 4 seconds long.
Step 4: Download and share
Once your video is ready, you have options: download it to your phone, or share it right away to Instagram, Facebook, or other platforms Meta supports. The video quality is pretty solid for something that was free and took just a few seconds to make.
Step 5: Extend or tweak if you want
One thing I liked: you’re not stuck with just 4 or 5 seconds. Some tools in Meta AI give you the option to extend the video further if you want something longer. You can also add music to your videos. That makes them feel more complete, especially if you’re planning to post them on Instagram Reels or Facebook Reels.
Tips from My Experience
Here are a few things I learnt by trial and error:
Start with clear, well-lit photos. As mentioned, the better the input, the better the output.
Be specific in your prompts. Saying “animate” is too vague. “Smile, look to the left, hair in breeze” works much better.
Test different prompts on the same photo. You’ll sometimes discover interesting animation variations you didn’t expect.
Keep your expectations in check. This doesn’t replace a full video shoot with a professional camera—it’s creative, fun, and surprisingly good—but not flawless.
Use it for social engagement. A short animated clip tends to capture attention more than a still image on social platforms.
Give it a purpose. For example: “Make this for Instagram story”, “Add subtle background motion for a memory clip”, etc. That helps guide your prompt.
A few years ago, creating videos like this would have required expensive software, hours of learning, or paying someone else to do it. Now you can do it on your phone for free. It’s one of those moments where technology actually makes life easier instead of more complicated.
Whether you want to add some fun to your Instagram feed, create something entertaining to share with friends, or just experiment with what’s possible—this tool is worth trying. The barrier to entry is basically zero, and the results speak for themselves.
What to Watch Out For
While it’s exciting, keep these things in mind:
Feature availability may vary by region. Some users report that the image-to-animation feature is missing or has been relocated in Meta AI. Meta Community Forums
Permissions and privacy. Make sure you’re comfortable with the app’s permissions. You’re uploading images, sometimes with personal subjects.
Usage rights. If you plan to use the animated clip commercially (for business or monetised content), check Meta’s terms of service.
Quality limits. The animation might be short and subtle (4–5 seconds is common). For longer, more complex animations you may need more advanced tools.
Over-use of motion can distract. Keep animations subtle unless loud motion is your style. The goal is to enhance the photo, not turn it into a chaotic video.
FAQs
Q1: Is Meta AI completely free to use for animating photos?
A1: Yes—at the time of writing, Meta AI offers its photo-animation feature without a paid subscription, making it accessible for anyone with an account. There might be usage or regional limits, so check your local availability.
Q2: Can I upload any photo and animate it?
A2: Yes—you can upload a photo of yourself, someone else, or a subject doing something. But keep in mind that clear, well-lit images work best. Blurry or dark photos may yield weaker results.
Q3: How long is the animation clip?
A3: Typically the clip is around 4-5 seconds long and uses subtle motion rather than full-out cinematic movement.
Q4: Can I add music or extend the animation length?
A4: Yes—some versions of Meta AI provide options to extend the video or add an audio track, especially if the end goal is a social-media reel.
Q5: Are there alternatives if I want more advanced or longer animations?
A5: Absolutely. While Meta AI is great for quick, free animations, other tools and paid software offer advanced features for longer videos, heavy motion, full editing control, etc.
Ovais Mirza, a seasoned professional blogger, delves into an intriguing blend of subjects with finesse. With a passion for gaming, he navigates virtual realms, unraveling intricacies and sharing insights. His exploration extends to the realm of hacking, where he navigates the fine line between ethical and malicious hacking, offering readers a nuanced perspective. Ovais also demystifies the realm of AI, unraveling its potential and societal impacts. Surprisingly diverse, he sheds light on car donation, intertwining technology and philanthropy. Through his articulate prose, Ovais Mirza captivates audiences, fostering an intellectual journey through gaming, hacking, AI, and charitable endeavors.
Disclaimer: The articles has been written for educational purpose only. We don’t encourage hacking or cracking. In fact we are here discussing the ways that hackers are using to hack our digital assets. If we know, what methods they are using to hack, we are in very well position to secure us. It is therefore at the end of the article we also mention the prevention measures to secure us.